Showing posts with label Storage Solutions. Show all posts

Thursday, March 5, 2015

Snow days and Bathroom shelves

So here's the view from my back door right now.

Brr!
And the view from inside.
My snow bunny made me cinnamon rolls!
We've had 3 snow days lately. And me stuck in the house means me looking around trying to make things better.

And I've been staring at my front bathroom and comparing it to my newly renovated powder room. And the comparison is not favorable. So I've been making budgets, and plans and trying to convince myself to wait until spring break to start demo. 

In the meantime, there's a small project I can do to satisfy my handy itch and make my bathroom just a little bit better. 

Linens and things. 
Here's my linen cabinet in my front bathroom. It has this funny little middle door that opens downward. This design is very common in houses this age. The idea is that you put a laundry basket in the bottom cabinet, and then you can open the middle door and dump your dirty clothes in.


The problem with this particular design is that there is no way that a laundry basket is going to fit in the bottom cabinet. It's too small. So this is basically wasted space.

Wasted space is a luxury I can't afford in a 930 square foot house.

So, a shelf.

I measured the opening on the inside, and cut a scrap piece of plywood. There's a protrusion in the front of the cabinet that the shelf can sit on, but there's nothing to support it in the back. So I held up the shelf inside the space, and made sure it was level.
Can't be a bubble left of center.

I took my pencil and drew a line on the back of the cabinet along the bottom of the shelf.

Scraps!

A little bit of scrap quarter round with the flat side up will support the shelf on the back side. I tacked it in place with my new friend Brad.

Test fit!

Now all it needs is a coat of bright white paint to fit in with the rest of the cabinet, and voila! New storage.

Total budget? $0


Now let's see if I can get through the rest of this snow day without tearing up my bathroom.


Saturday, December 7, 2013

Closeted

Closets in houses built in 1965 are small. Frankly I have no idea how they expected a man and a woman to share the master closet in my house and have any measure of marital bliss. I as a single person had filled it to capacity all on my own. If I had to share it with my boyfriend, well, it would not be a pretty sight. So out of curiosity I went to some online closet organization something or other, and put in my closet measurements. Here's what I designed.
I'm overpriced!

This was on the order of $300. Which is ridiculous.  Plus it looks totally flimsy. So. I decided to build my own. I started by building a shelf unit. 

This took me a weekend.

It's very sturdy, and I bolted it to the wall, making sure I went into a stud for good measure. Small children could reasonably climb up the shelves to look for their Christmas presents without it toppling.  Not that... I ever did that... or anything.

Moving on. 

Next, I cut the existing bar into two pieces and installed it at the appropriate height for the top bar.  I turned the sagging bar so that it was arching up, instead of sagging down. Then I held it firmly in place and screwed it into the shelf brace so it would be straight. Ok, I had help. My big strong manly boyfriend operated the power drill while I used my wimpy girl muscles to hold the bar.
There's a block of wood to secure the bar to, because there's not a stud there. 
Next I installed a newly purchased lower bar high enough that clothing won't drag on the floor, but low enough that clothing from the top bar won't drag on the bar. My bars aren't quite at standard heights, because my shelving unit is only 6 ft high. 


Yes. I have out my drill and my impact driver. I'm too lazy to change bits every two seconds.

The bar sits just below the shelf. Total coincidence. 

And then I had the big stuff done.
Yay! Time for clothing!
Except the shoe moulding. I had removed all the baseboards and quarter round to get the shelving unit right up against the wall. Now I cut the baseboards to fit right up against the sides of the unit. I cut the quarter round on a miter so that I could fit it around the shelving unit. When the quarter round goes all the around the unit it looks really cool and built in. 
Like it's been there forever!

And voila! It's all done. I tried to get you guys good photos, but it's really hard to take photos in a closet.

I doubled my hanging space! Huzzah!


Friday, May 24, 2013

Garage Overhaul - Phase 1

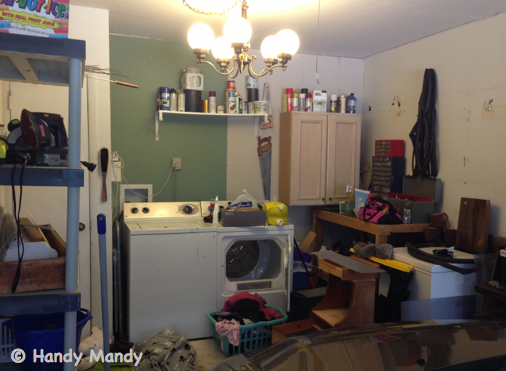
I have a one car garage.  I have one car.  Oddly enough, I insist on my car being able to fit in my garage.  Call me crazy, but I've got this insane idea that that's what garages are for. But a girl has to have a place to be handy too, so my little garage does double duty. Here's a pic of what it looked like this morning.

I am so ashamed right now.

I can't even begin to describe what a mess this place was just a few short hours ago. Valuable work bench real estate is rendered inaccessible because it's under the cabinet on the wall. Stuff is EVERYWHERE. I can't get to the stuff in the corner. And this is definitely not a safe place for my unmentionables. 

So I devised a plan. A serious rearranging.  I wanted to make a counter that would sit between my washer and dryer. And I was off to Bart's Barn.  I bought a couple of pine shelves that had been painted, and obviously had a hard life.  One of them had a very clear iron burn on it. I also bought a piece of scrap two by three - I think.  I spent less than $5 on all this plus some very pretty trim that you will see in a future post.  Seriously this entire build cost less than ten bucks.  Go me. Step one, cut two by three into short lengths. 
The short piece is scrap. I'll find a home for it later. 

At this point I backed car out of garage, and moved everything. Appliances and workbenches and cabinetry got new homes.  Let me tell you, that cabinet is HEAVY. When I was done, I was drenched in sweat.  In a wring out your shirt kind of way.  Not very lady-like. So I decided to rest, eat, and sit in the AC for a while. Before I could construct my new counter, I had to measure the space between the washer and dryer now that I'd got them in position, and cut shelves to length. Then I laid out the counter in a dry fit. 


And marked the holes for the L brackets, and drilled them in place.


Nest, I applied lots of glue and screwed the cleat to the shelves, with L brackets attached. I thought I was done.  I plopped the counter between the washer and dryer, and realized that the metal brackets on the metal washer and dryer were going to rub against each other as my washer and dryer wriggled and vibrated  in spin cycles and what not. So, I applied some newly rediscovered weather stripping to the underside of the brackets as cushioning.  (I found so much stuff I forgot I had today.) Perfect fit!

Then I slid the counter back in place. 

The next few hours were spend sweeping, throwing away stuff I didn't need, and replacing things in the cabinet. My garage feels so spacious now!

You can't see it, but under the counter is a nifty place for a trash can and my step stool. I also have a space heater in there for the cold months.  

I'm disproportionally happy about the extension cord I mounted on the wall.  Power!

Ok, so it's not exactly pretty. I'm working on it ok?  It's functional!  Might I remind you what it looked like this morning?


And the most important detail of all, my car still fits!


Re-reading this post makes this seem like a quick and easy project. It was not.  It took all day, I'm dirtier than I've been in months, and my feet feel like they're going to fall off.  But it was totally worth it. I'm going to go shower now. 


Tuesday, April 30, 2013

Thrift Shopping

Denton has about a dozen thrift shops in town, benefiting various charitable causes.


Twelve.  Count 'em.

 I tend to frequent these thrift shops as a matter of habit because a. I be poor, and b. things be cheap. And it just so happens that I was shopping for a new TV console.  I'm usually all about the new gadgets and gizmos, but I've yet to replace my sad 1990's TV.  Partly because it still works just fine, and why bother spending a fortune on a flat paneled doohickey when I've got something functional, but mostly because my TV stand was made to accommodate the old school square model TV, and not the newer rectangular version. HDTVs have an aspect ratio of 9:16, and since TVs are measured on the diagonal, some complicated math that you care nothing about tells me that I can't have a TV bigger than 22 inches.  Some more complicated math tells me that this would actually give me less screen space, and though the diagonal measurement is actually bigger, the area of the screen is smaller than my current TV.  All this to say, if I want a new TV, I need a new TV stand. So I went a pinteresting. Here's what I found.
Source:Darling Doodles Design

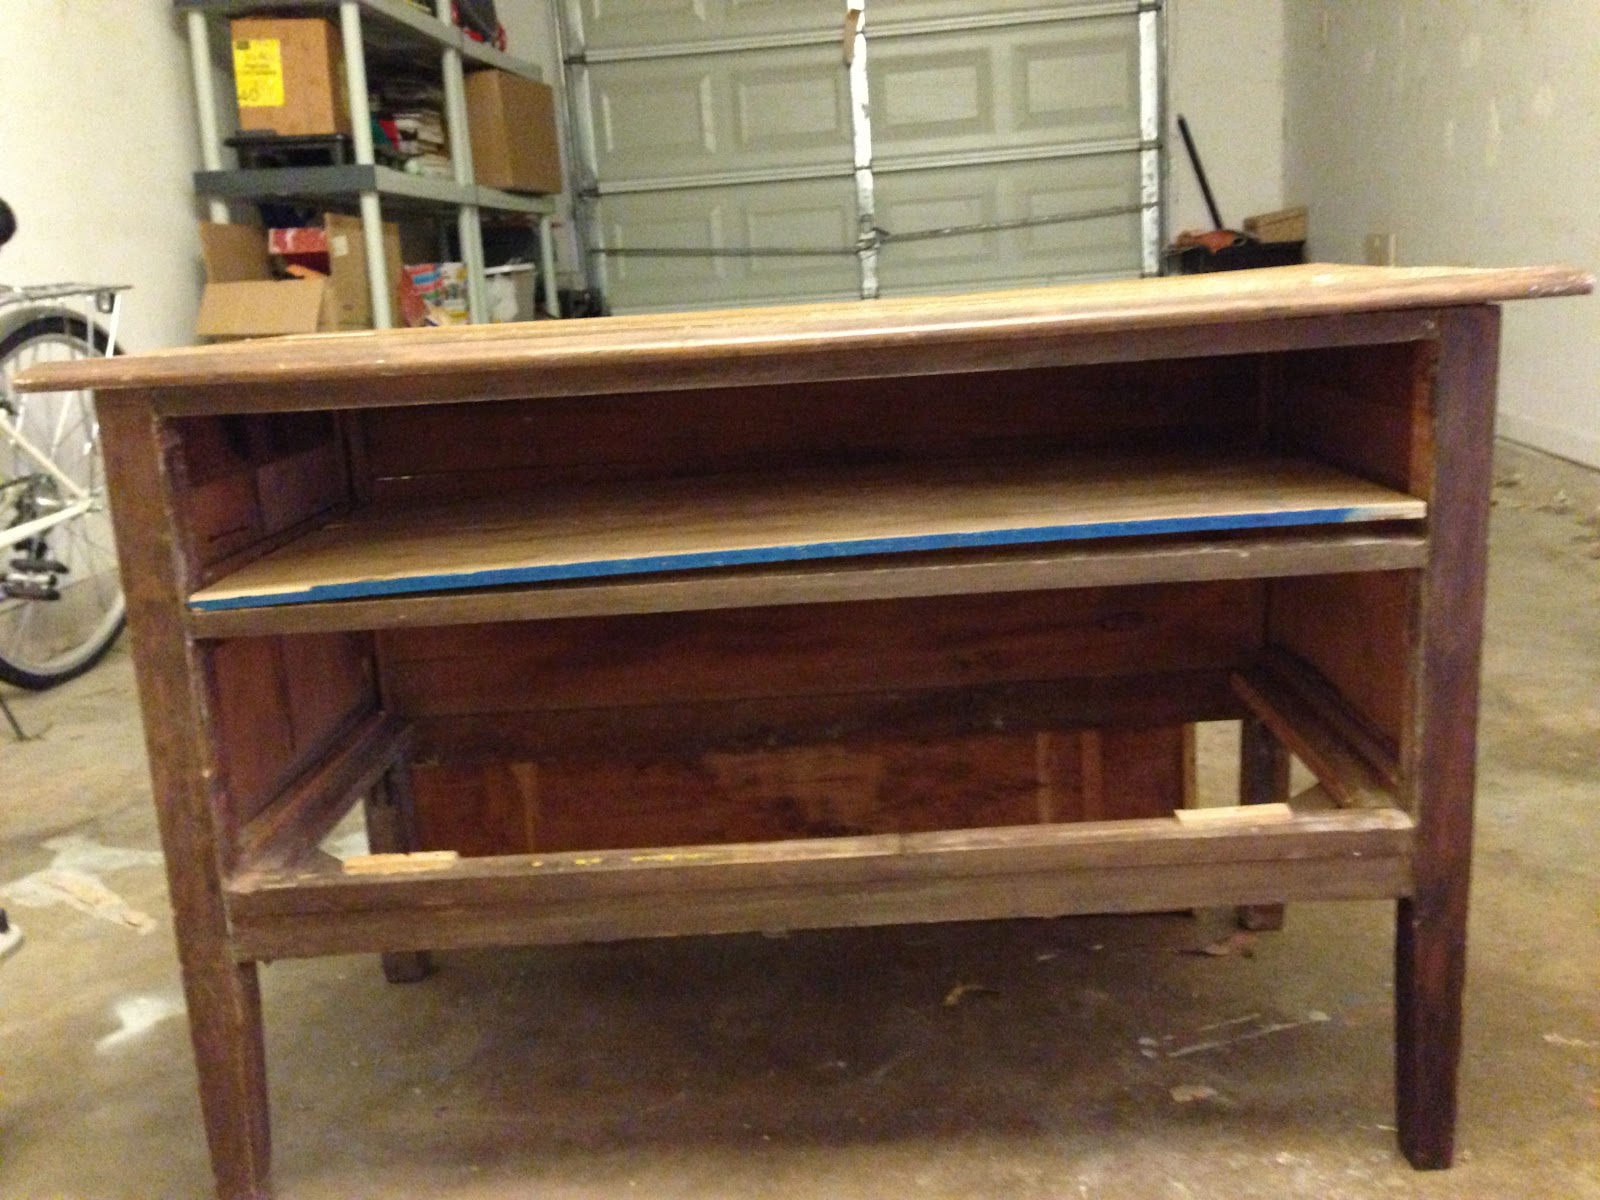
I wanted to go with something fairly similar to this, with an open table top and storage underneath. Hence, thrift shopping. In my third shop, which supports a local women's shelter, I found this lovely low dresser with two drawers. It was literally falling apart.
It really doesn't look like much, does it?

The shop manager told me that I could have it for any donation.  Naturally, I asked "So you mean, I could give you fifty cents, and you'd let me haul it off?"  I got a hesitant affirmative, and ended up giving the man what I had floating around my purse in ones.  $7. After it fell to pieces in my car, I began reconsidering the wisdom of my purchase.

I painstakingly pulled the dresser apart, bit by bit, glued, clamped and finish-nailed it back to something near it's original sturdiness.  I cut a piece of plywood for the shelf and did a dry fit.

Then I got to sand it down with my brand new Ryobi sander.  I like Ryobi tools because they're generally light weight and easy to handle, and I have small girly hands, even when they're covered in paint and sawdust. And no, Ryobi didn't pay me to say so.
Anyone notice how much I use blue?

Then, I commenced to taping over the stiles and the drawer front.  The stiles are solid wood, and the drawer front is veneer. But it's pretty veneer, and in good shape, so I decided to keep it. Everything else got a couple of coats of blue, inside and out.  This included the plywood that was to become the shelf, and the table top.  I wanted to stain the table top, but it had been horribly repaired by someone not quite as handy as me at one point, and really was beyond repair. Next came staining what was left a dark color to match the drawer front. Original drawer pulls got a nice red coat of paint. I didn't prime the drawer pulls first, and only used one coat of paint, which gave the effect of almost a red glaze. You can see the wood grain through the paint, which I particularly like.  Next I had to drill a large hole in the back of the dresser for the cords to come through.  I put everything back together, glueing the shelf in place, and polyurethaned the whole shebang. Ta-da! Finished product.


And actually, I found a dresser that fits the space even better at my grandmother's house, which is getting the TV console treatment soon, so this beauty is available for sale at my etsy store.


Sunday, January 20, 2013

Kitchen Cart Intensive Care


This post, like so many others, starts with Bart's Barn, and me having a postage stamp sized house. My house has 14.2 square feet of counter space built into it.  For someone who is actually handier in the kitchen than in the tool shed, this is not sufficient. So I have supplemented over the years with cutting boards spanning the sink, microwave carts with no microwave, and eventually a beautiful 1920's era sideboard. All of which are currently cluttered with mail, boxes of microwave popcorn, kitchen aid mixers, bottles of wine, knife blocks, and various trappings of cookery. I yearn for great expanses of counter space for chopping and baking and what not. So when I was mining Bart's Barn for drawers to turn into shadow boxes and I happened upon an old sad kitchen cart, well I just had to have it (no matter that there was no way it was going to fit in my car.) I wrestled it home and got the hardware off.


It cost me $40. First order of business was that butcher block top.  I sanded it down to get out the worst of the knife scars, and applied liberal amounts mineral oil. (This can be found at your local drugstore near the laxatives. Don't ask me why.) After a ten minute wait and a brief wipe down, it sprung back to life in a way I had scarcely hoped for. 
Look at it shine!


Now this kitchen cart baffled me.  It was very sound construction, but the materials were pretty crappy stuff. 3/4 inch plywood and particle board made up most of the structure.  The handles for the doors were a nice copper, but you could hardly notice against the rough surface of raw plywood. Some of the cut ends of the plywood hadn't even been sanded. So, I decided to paint the whole thing. I started by sanding everything that hadn't been sanded.  I mixed some of my blue paint leftover from the pot lid holder with some darker blue to get a denim color. Since I had mixed the paint, I didn't want to run out halfway through the project, as I'd never match the color. Normal people would turn to primer for this much raw wood.  I didn't have any primer.  What I did have was a hideous gallon of oops paint my mom had bought.  It was roughly the shade of my skin, and she swears it looked good in the store.  So I slapped a coat of that on everything to soak into all the raw wood and spare me 3-5 coats of blue paint.

I promise I'm not going to leave it this color.


Then everything got a coat of blue. When it was time to put the hardware back on, I decided those copper handles were filthy and needed a cleaning... with science!  When you were a kid did you ever clean a penny with vinegar and baking soda?  No?  Ok, you need to go watch some Bill Nye. Pennies are made of copper so I figured it would work just as well on my copper handles.


For Science!


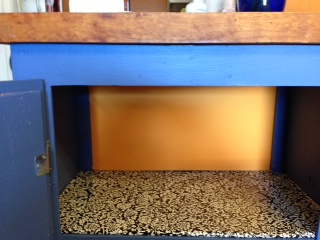
While I was at it, I chopped off the feet of the cabinet, and added a piece of plywood to the base, to screw some industrial type castors onto. The castors that came with the piece were the kind you pop into some kind of hole drilled into the feet of your piece.  Basically what this means is any time you lift your cart, your castors come out and roll away.  No bueno.  My new castors are screwed in tight and aren't going anywhere, plus two of them lock for keeping my cart in place when needs be. I didn't take pictures of the process, but it's really pretty self explanatory. Next I turned my attention to the interior. The shelves got shelf paper.  BTW, contact paper doesn't stick too well to particle board.  If anyone has any tips on making it stay better, let me know. I put it in place and weighed it down with books overnight. That helped some.  

The next little tidbit comes from Pretty Handy Girl. I wanted to not see the support braces in the back of my cabinet, so I made false backs out of fabric and foam board.  This is cool for the backs of open cabinets.  Step one, measure your cabinet backs carefully. 


Step 2, cut a sheet of foam board to fit the space.  I used an exacto knife on my handy butcher block cutting board. 


Step 3, cut your fabric 2-3 inches bigger than your foam board.  I picked this orangey yellow solid, since my shelf paper is a kind of busy print. 

Step 4, use packing tape to stretch the fabric tight and sort of "upholster" the foam board. 


Step 5, push the foam board carefully into the space you measured it for.  Ta-da!


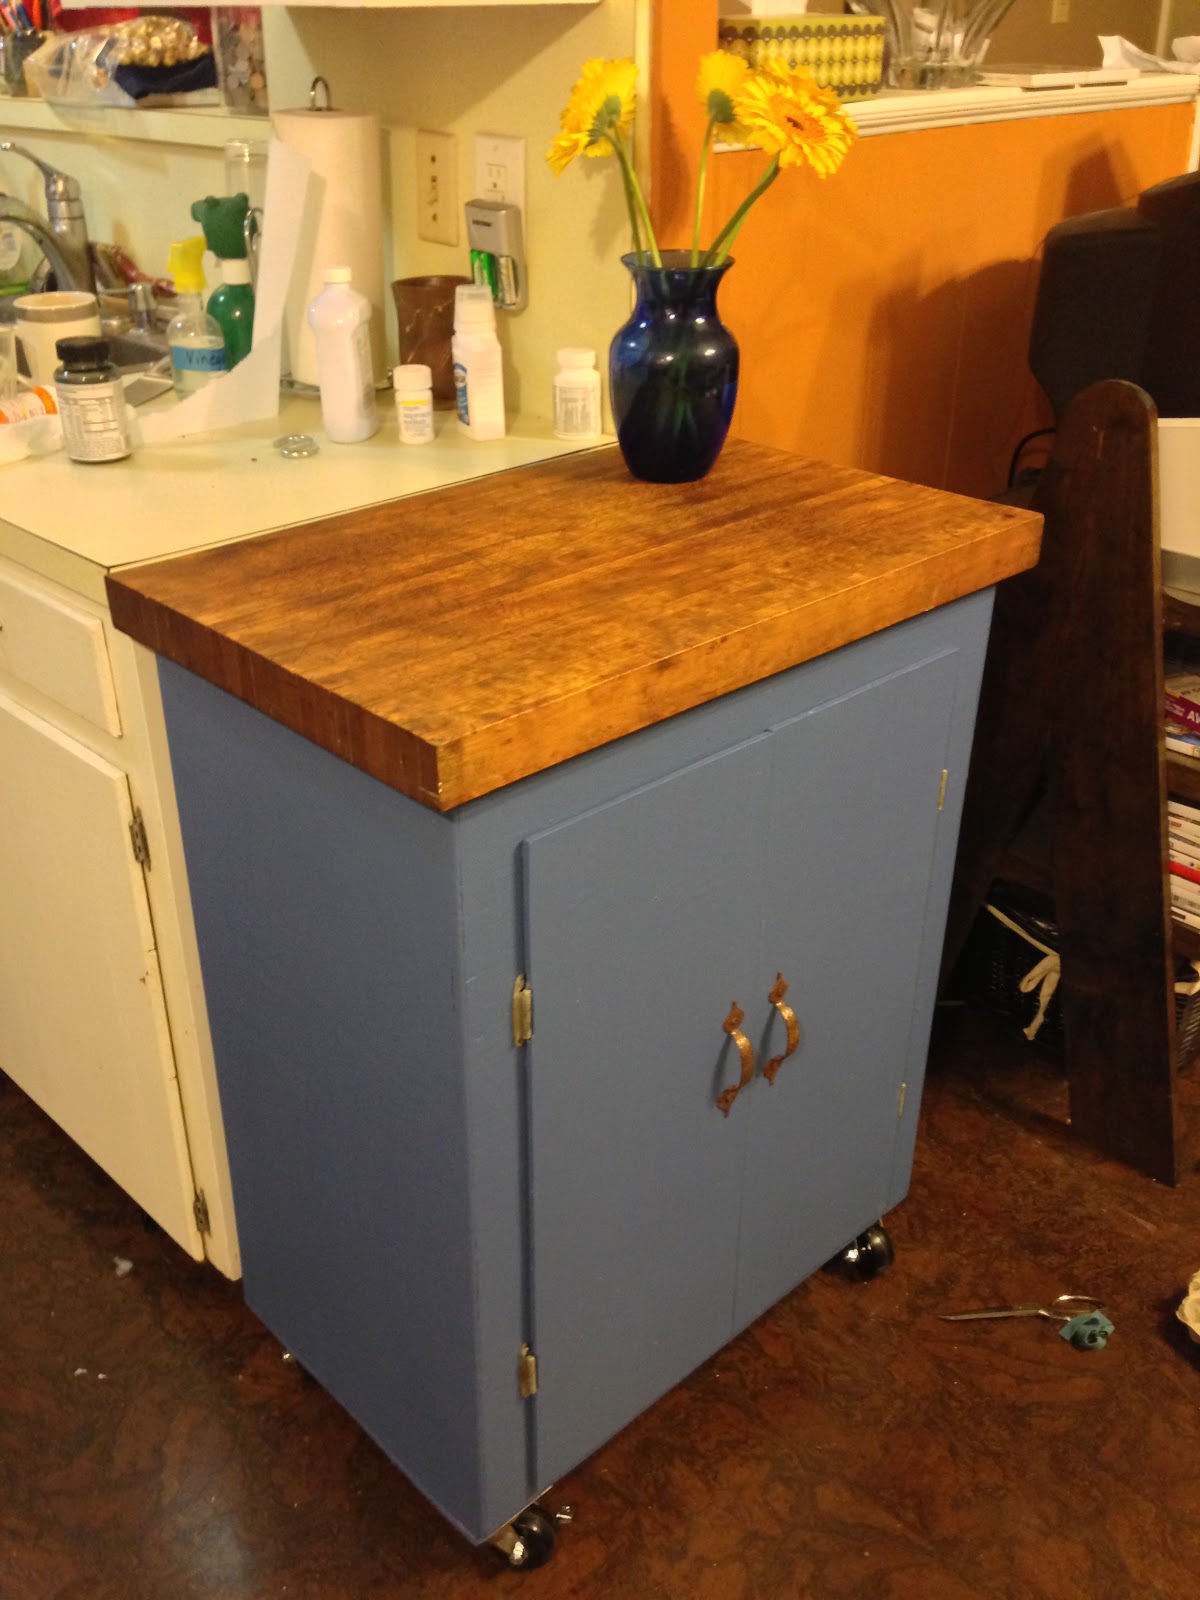
And now for the big reveal!  Somehow, magically, my cart came out to be EXACTLY counter height. So cool!


My total cost was just under $100. For a little perspective this similarly sized butcher block cart with open shelves is more than three times that.  


Wednesday, January 16, 2013

Kitchen Drawer Shadow Boxes

Handy Mandy!  Where have you been?  I've missed you so much last August!
I know, my fellow DIY friend, I have been MIA.  But you know what happens in August?  School. And I am not just a super hero when it comes to slapping a coat of paint on junk and turning it into something totally cool. I am also a super hero who teaches children how to read, write and do 'rithmatic. So I don't have time for a lot of handying around the house in the fall. But I'm back!  And I have a tale to tell.

It all started with me getting a circular saw for Christmas.  (Thanks Santa!) It's green and beautiful, and I couldn't wait to cut stuff up. So I carried it out to my garage, so it could have a place of honor on my work bench.  And this is what I saw.


So I decided to clean up the space a little. First order of business was to hang that mirror that had been waiting patiently since last summer for a place in my back bathroom, and then I thought I'd throw up some shelves for all my paint. So I went to Ace Hardware for some D brackets for the mirror, and while I was out I picked up some remnants from JoAnne's, and then I went to Bart's Barn.  Well, you know how it is with me and Bart's Barn.  Sure I found parts for my shelves.

Total cost $7
And sure I hung me some shelves. 


But I didn't stop there and you know it. I wandered around looking at what they had.  When I got to the cabinet section I noticed that there weren't very many cabinets to be had, but there was a whole mountain of drawers and doors.  Someone had probably gotten their cabinets refaced and abandoned all the doors and drawers that were original to the skeleton. They were like pound puppies or orphans or something.  I couldn't just leave them there. So I picked out a few and brought them home with me. 

They need me!


I took off the hardware and put it in a ziplock baggie with it's screws so I could find them again.


And then it was a matter of sanding, painting, drying and reattaching the hardware.  And I put some contact paper in the drawer to make it pretty. 


Now these aren't going to hold anything particularly heavy, so I threw on some D rings, and strung them together with picture wire. 


Oh come on now.  You know how to do this part.  Hole in the wall, molly bolt in the hole, screw in the molly bolt (not all the way) and hang your new shelves!  


Aren't they so Martha Stewart?  No?  Good. This is turning into the bathroom that the kitchen built.